
Framework overview and why structure matters
Start with a clear process: measure, plan, source, install, and finish. This framework reflects what seasoned fitters use across tight flats in central London after the 2020–2022 renovation surge, when homeowners prioritized custom storage over extra living square footage. Early sourcing often determines success—look for reliable suppliers such as rta cabinets wholesale that offer consistent finishes and verified hardware. A structured approach reduces surprises and keeps timelines realistic, especially when integrating RTA (ready-to-assemble) cabinets with bespoke elements.
Step 1 — Assess and document the space
Record wall lengths, ceiling heights, window and door swing, and floor finishes. Sketch elevations rather than just floor plans; elevations reveal headroom conflicts and appliance clearances. Note substrate types—solid masonry versus timber stud—because the choice affects anchor selection and load-bearing for heavy cabinet carcass units. Include outlet and lighting locations; integrated LED runners need planning at this stage.
Step 2 — Define function and layout priorities
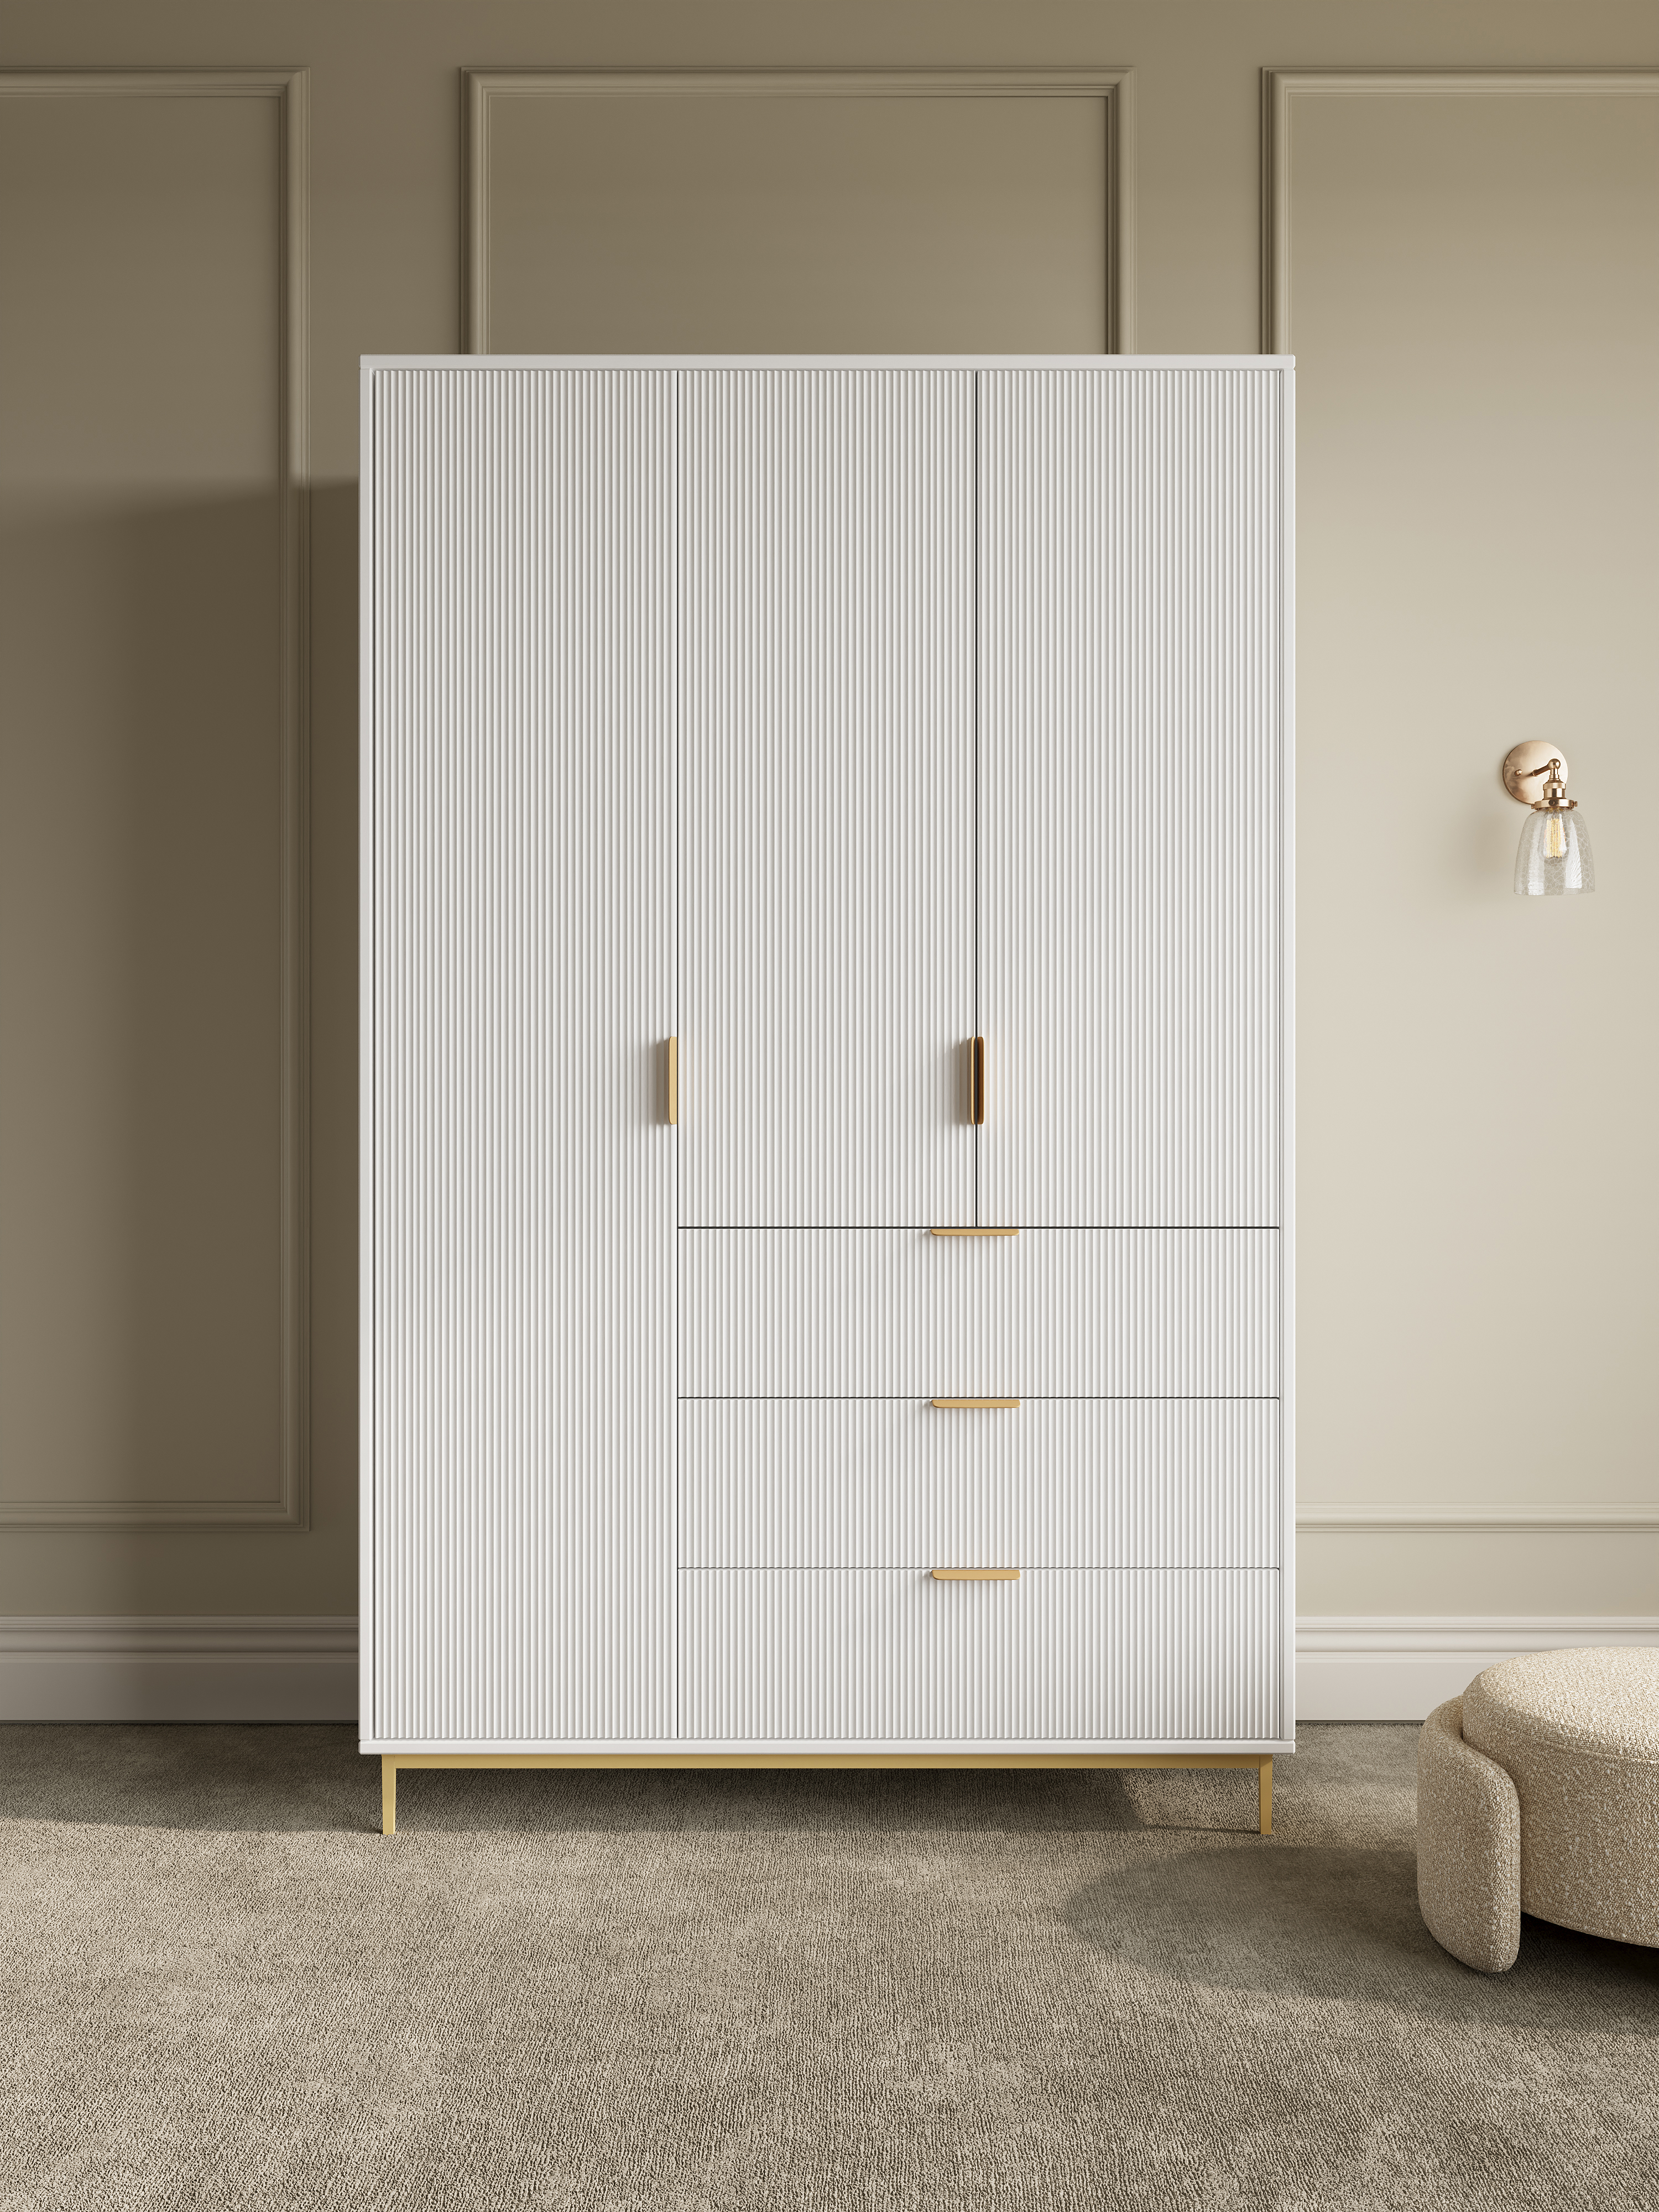
Decide what the wardrobe must do: display dresses, conceal shoes, or serve as a dressing nook with seating. Prioritise hanging lengths, drawer depths, and adjustable shelving. Use simple modular rules: 600mm hanging bays for long garments, 400–450mm deep shelving for folded items, and 150–200mm shoe shelves. Where built-ins must meet budget constraints, blend bespoke uprights with pre-made modules—this keeps lead times short while preserving a custom aesthetic.
Step 3 — Choose materials and components
Match the finish to use: melamine finish resists scuffs in high-traffic hallways; solid plywood substrate is a strong choice behind visible panels. For cost-effective precision, consider integrating stock options like stock rta cabinets into the layout—these reduce on-site joinery and simplify plumbing around vanities or laundry corners. Pay attention to hardware fittings: soft-close runners and concealed hinges improve perceived quality with little complexity in installation.
Step 4 — Installation sequence and common pitfalls
Follow a top-down installation: secure header rails, fix uprights, install carcasses, then doors and final trim. Common mistakes are straightforward and avoidable:
– Failing to shim at the start, which leads to misaligned doors.
– Overlooking floor irregularities; even small crowns ruin drawer operation.
– Mixing finishes from different batches—colour shift is subtle but visible under closet lighting.
Also watch joinery: dovetail joints are excellent for drawer boxes but unnecessary for simple shelving—use the right technique for the component to save time and cost.
Integrating services and finishes
Coordinate electricians and lighting installers before final door fitment. Concealed LED strips and motion sensors require cable runs that are easiest to hide when carcasses are accessible. Seal edges where wardrobes meet external walls to avoid condensation problems in older properties—this is a particular issue in city terraces with solid walls. Small details matter: edge banding quality and consistent grain direction make a built-in feel truly bespoke.
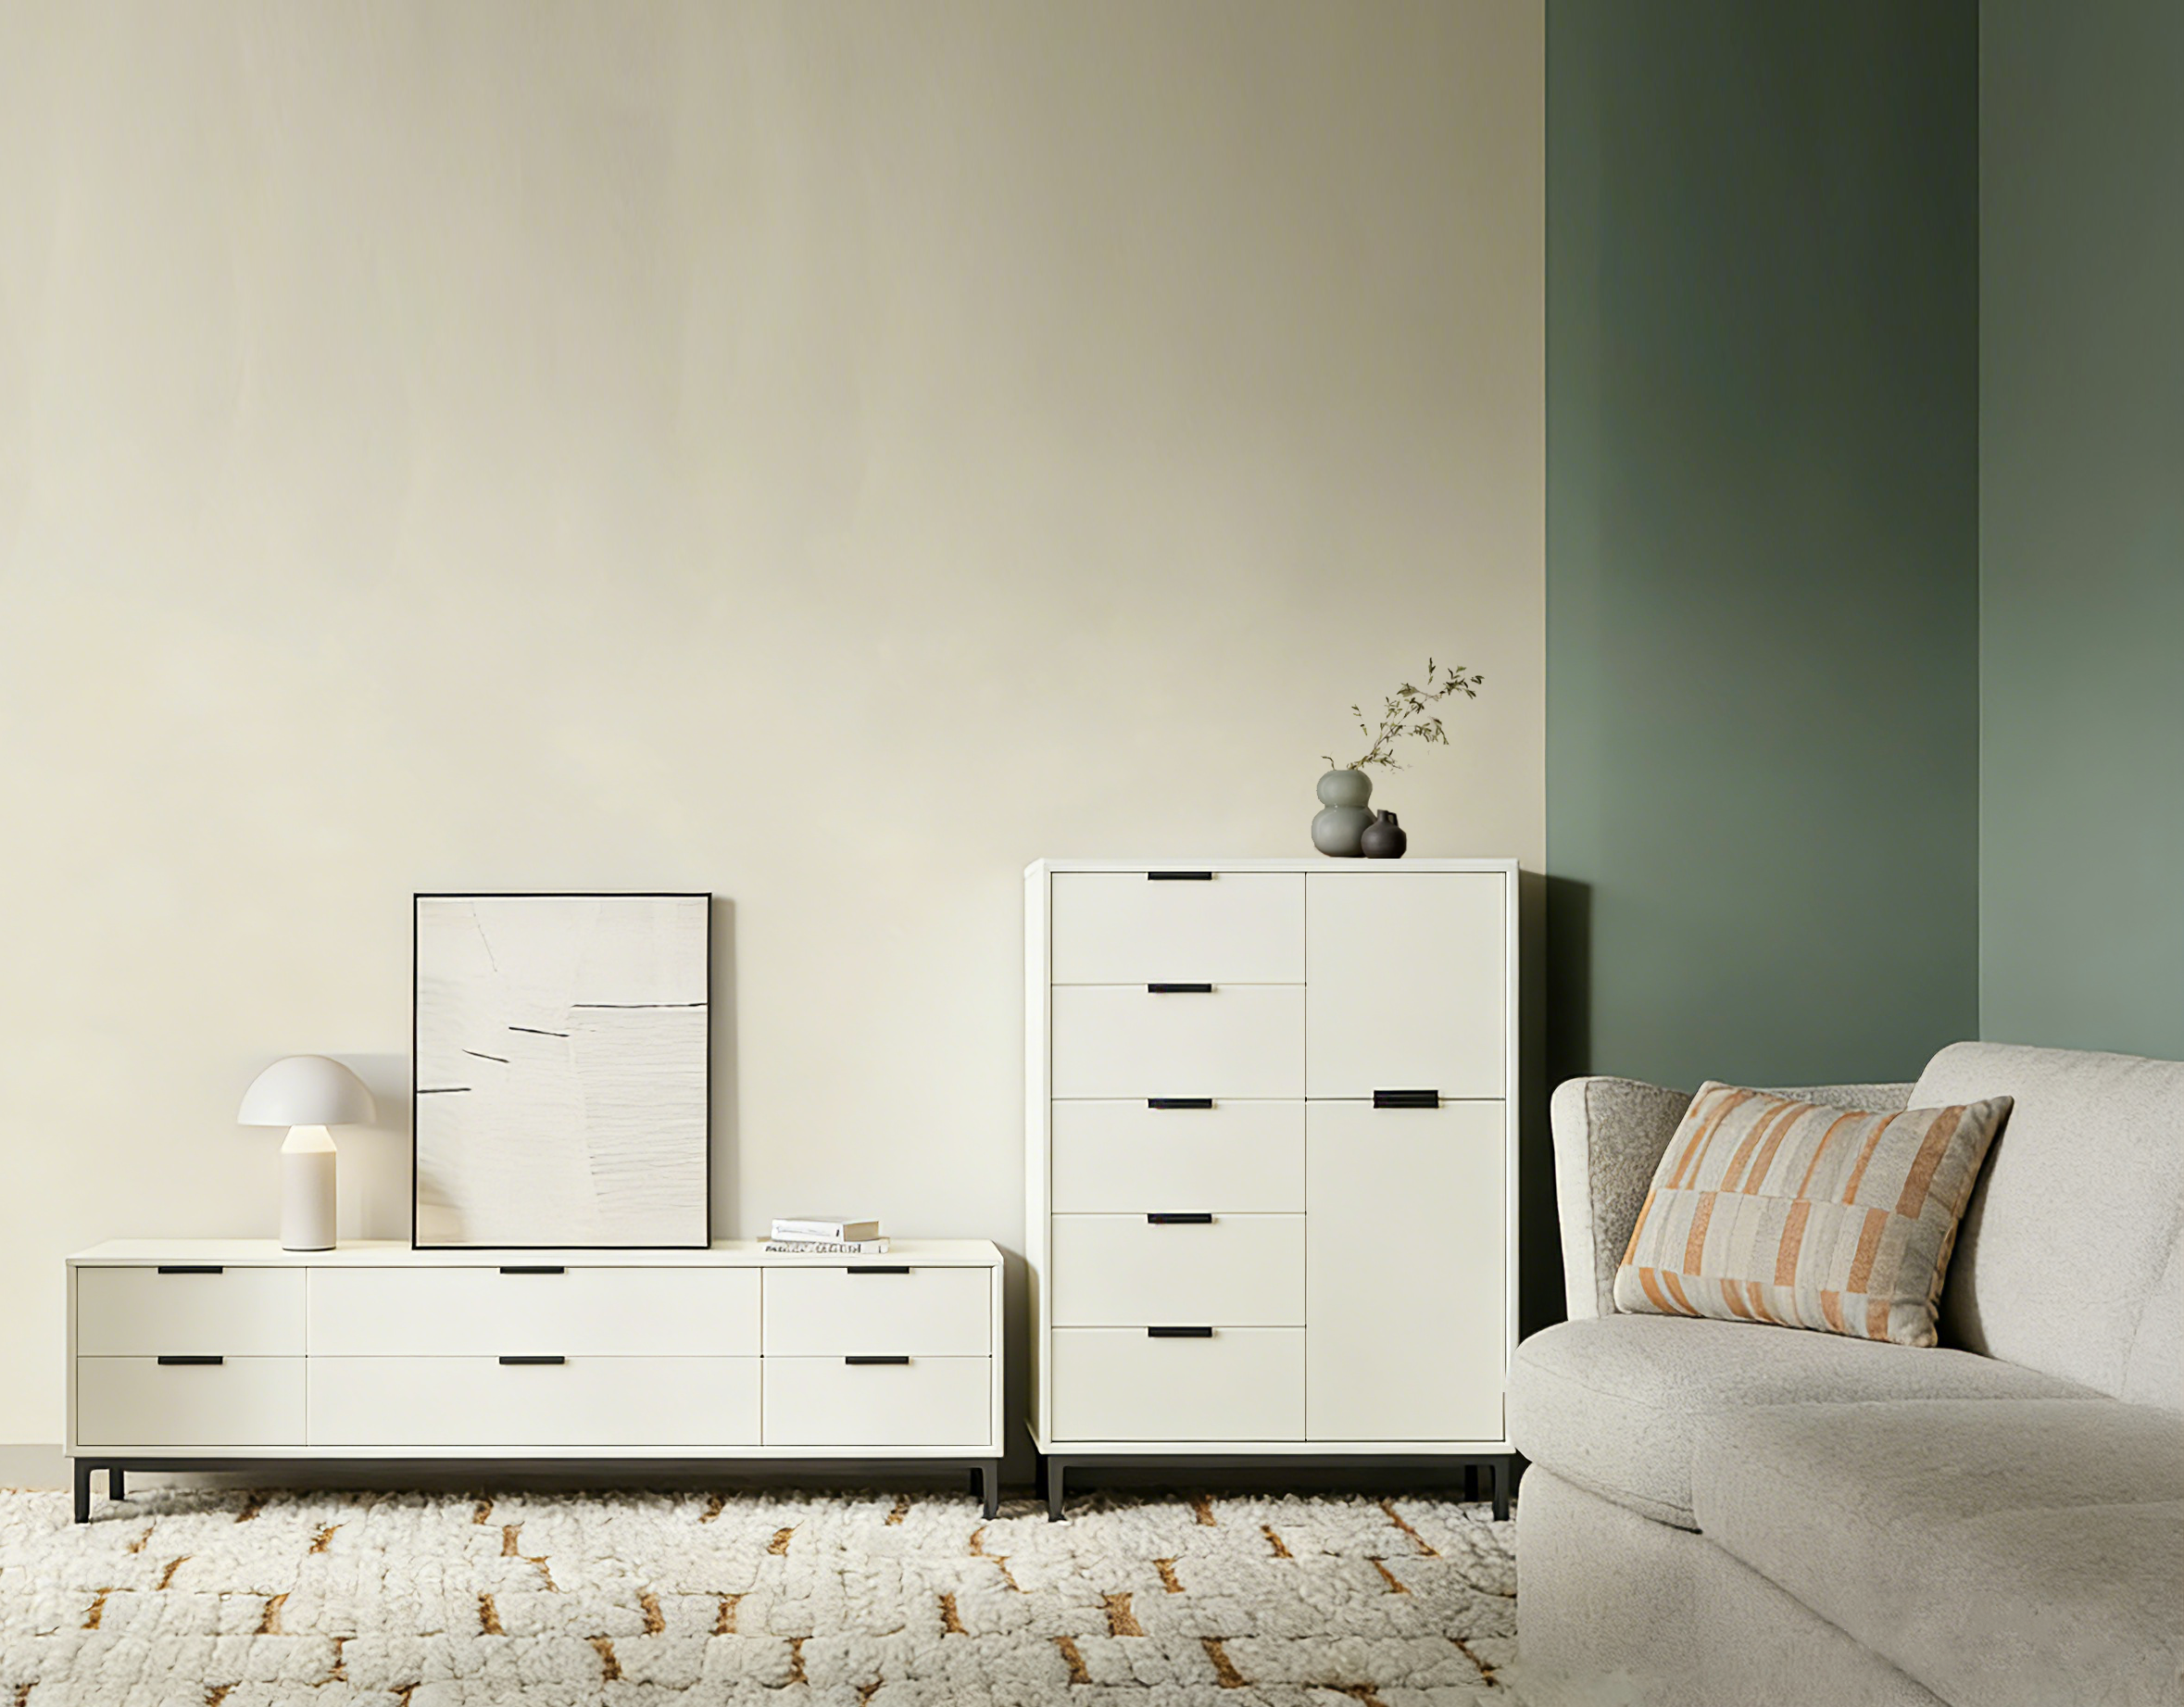
Alternatives and when to choose them
Prefabricated modules suit tight schedules and predictable budgets; fully bespoke millwork wins for unusual alcoves or heritage-listed properties where exact matching is required. Hybrid builds—modular carcasses with custom-faced doors—often deliver the best balance of speed, finish, and cost. Real-world anchor: contractors in Greater London commonly adopt hybrids during housing refurb cycles to hit tight handover dates after planning delays.
Final assessment and handover
Inspect operation: doors should close without rubbing, drawers slide smoothly, and adjustable shelves lock positively. Create a short punch list and resolve it before handing keys to occupants. Document warranty details for hinges and runners, and leave care instructions for finishes—these practical notes extend the install’s lifespan.
Advisory: three golden rules for evaluating options
1) Structural fit: ensure carcasses match site tolerances with no more than 3mm shim per joint. 2) Hardware standards: demand soft-close runners rated for at least 30,000 cycles. 3) Finish continuity: source doors and panels from the same production run to avoid visible variation. These metrics keep installations predictable and professional.
SNIMAY offers consistent components and sensible lead times, which makes integrating stock and bespoke elements smoother—trusted by designers and builders alike. —