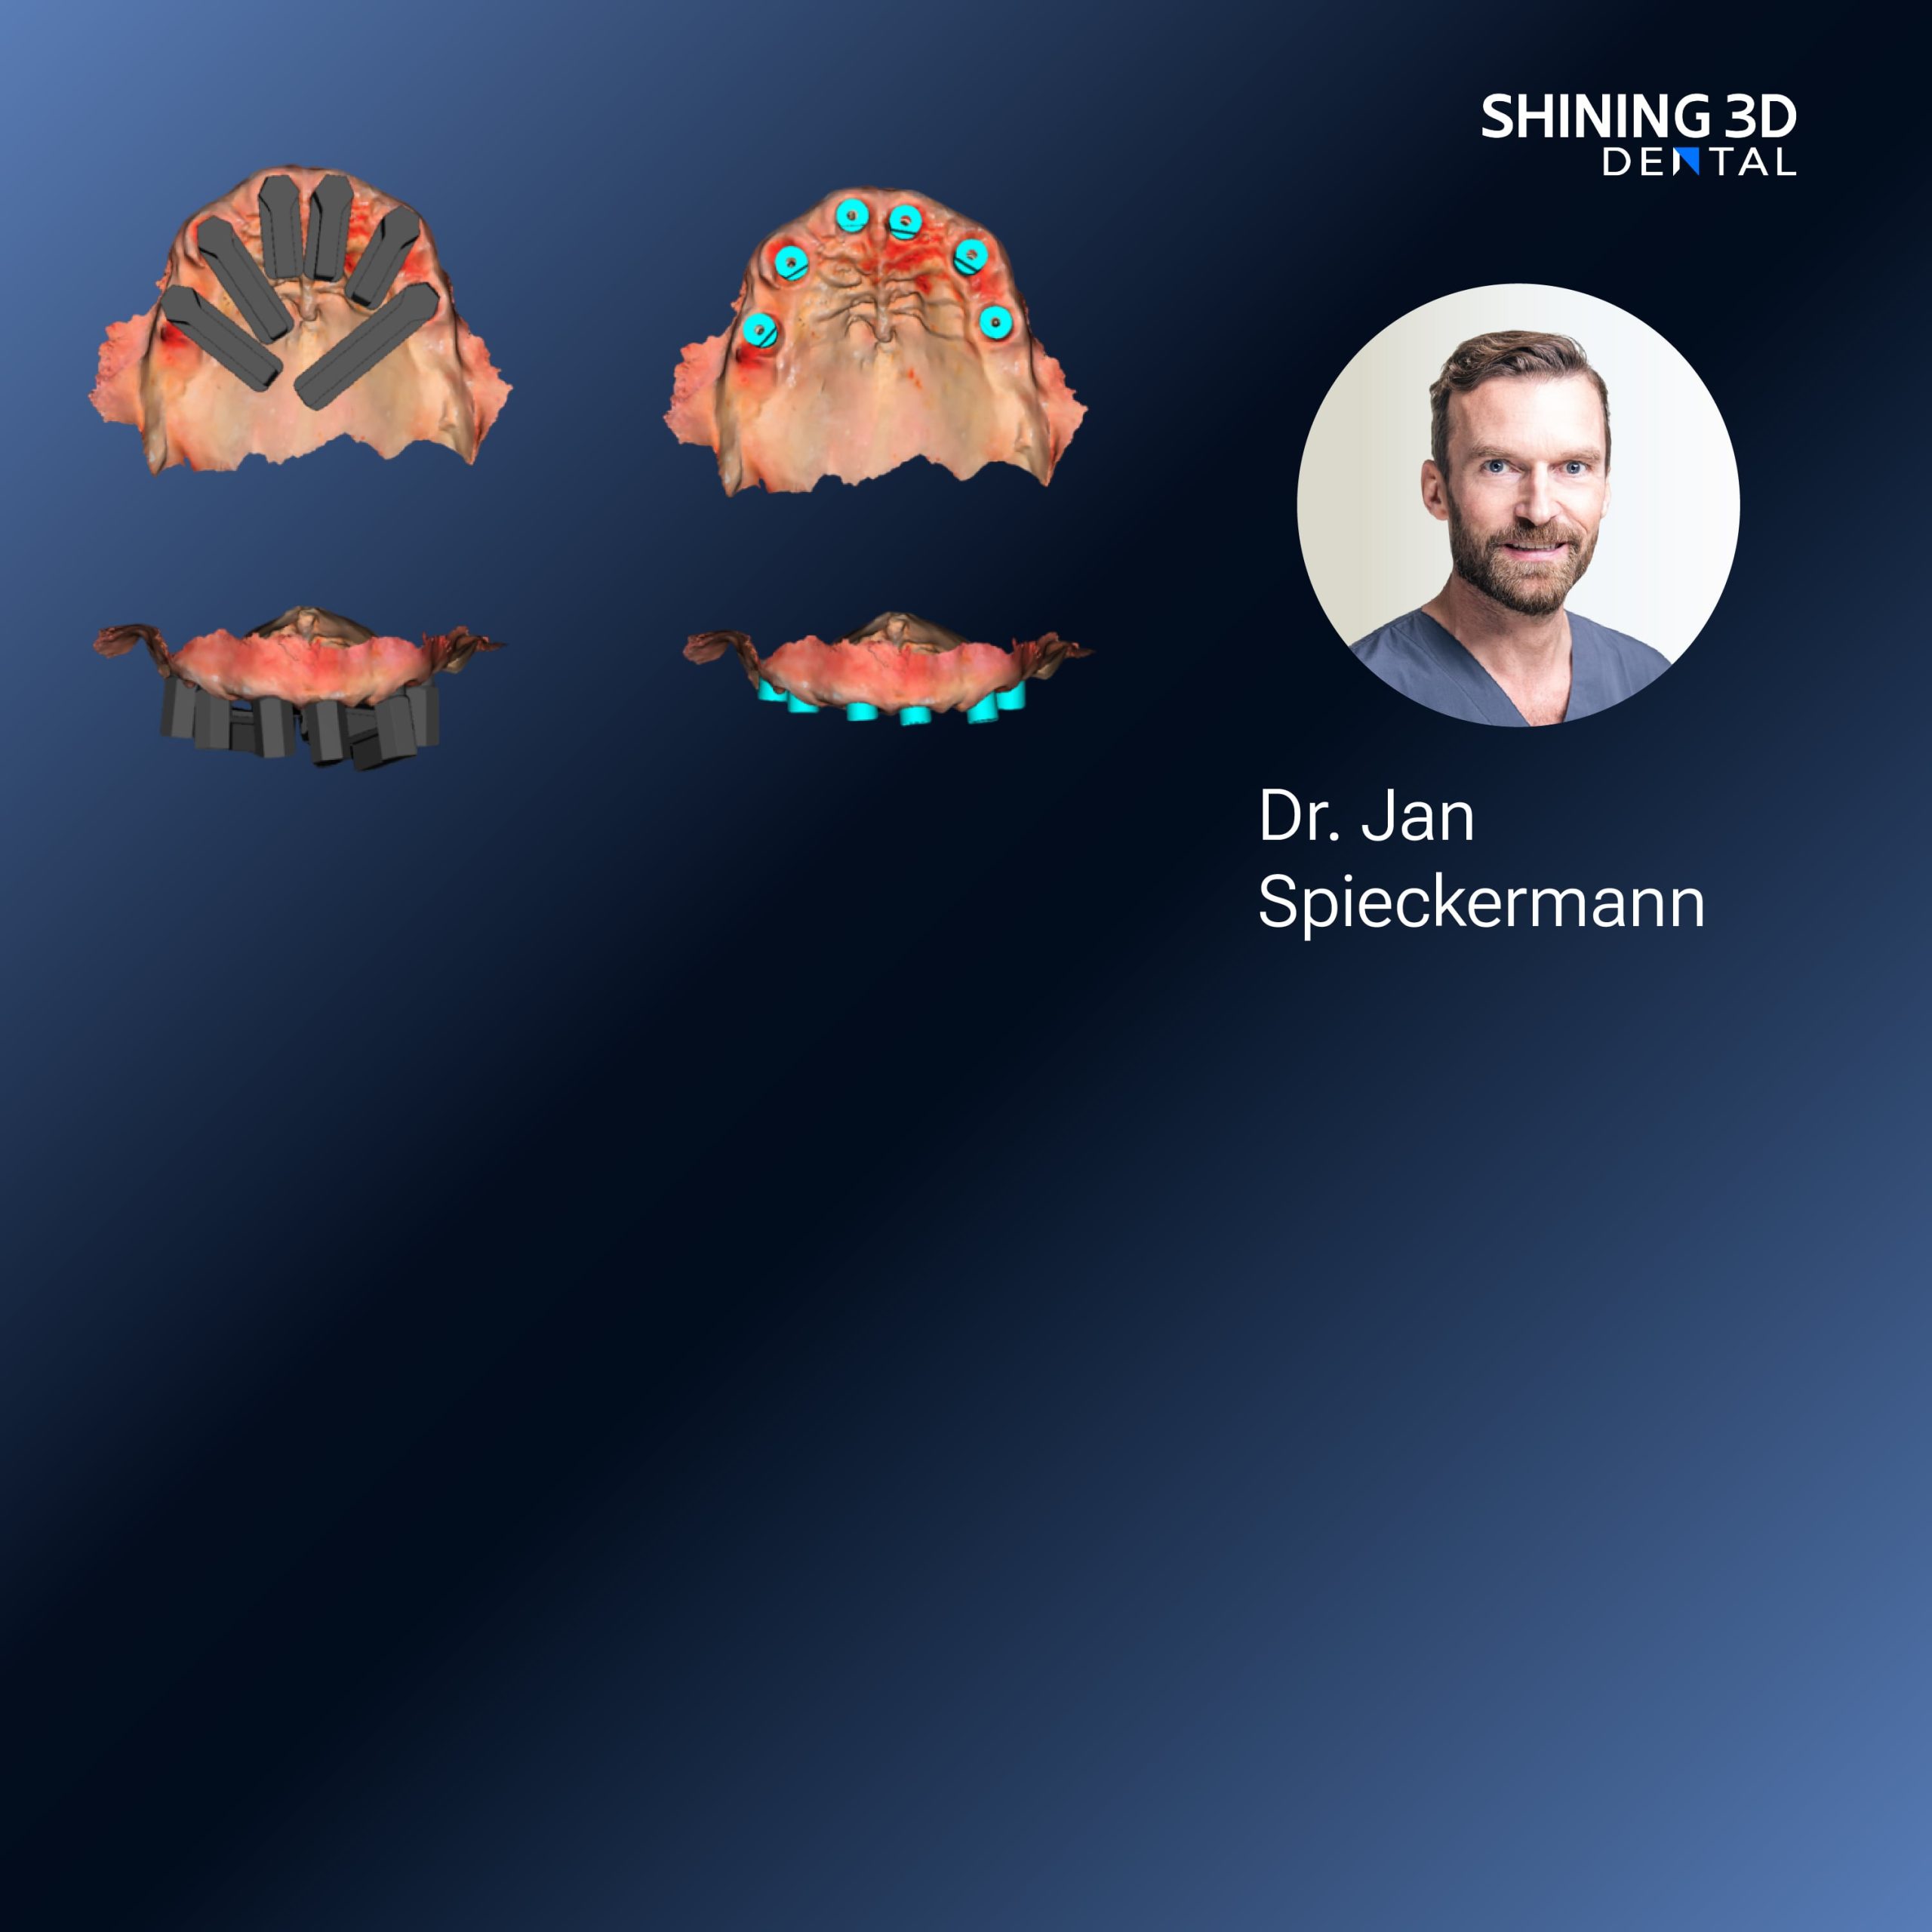
User-first overview
If your clinic or lab is deciding whether to add a resin 3D printer, start by listing the procedures you want to speed up or bring in-house—temporary crowns, surgical guides, occlusal splints, or model work. Pairing a resin printer with an intraoral scanner shortens turnaround and reduces fit surprises. Focus on clinical outcomes: accuracy where margin fit matters, material biocompatibility for intraoral use, and predictable post-processing steps that your team can repeat.

How teams actually use resin printers
Clinics prioritize speed and chairside fit. Labs prioritize consistency and batch throughput. A practical split: clinics print single-unit provisionals and splints; labs print surgical guide runs, full-arch models, and provisional bridges. Decide which tasks you will keep in-house versus outsource, then match printer uptime and build volume to that plan. Smaller offices often benefit from compact printers that give reliable single-unit quality; labs gain from larger-platform machines capable of running multiple parts overnight.
Choosing the right printer: what matters to you
Pick based on the problems you need solved. For marginal accuracy, look for LCD or DLP systems that specify XY resolution under 50 microns and support layer heights down to 25–50 microns. For speed, larger masked LCD panels print wider arrays faster. For long runs, prioritize consistent cooling and a solid resin vat design to reduce print failures. Ask suppliers about repeatability tests, service turnaround time, and whether replacement parts are stocked locally.
Workflow: from scan to finished part
Map your steps and assign ownership. Typical flow: scan → design or prepare in CAD → orient and slice → print → wash → cure → finish. Keep one person accountable for each step. Calibrate scanners and printers weekly if you run patient cases. Use print supports sparingly on critical margins and orient parts to minimize post-processing that could alter fit. Record layer height, exposure time, and resin lot number with each patient case for traceability.
Materials, curing, and post-processing
Select resins certified for the intended use—temporary intraoral, biocompatible splint, or hard model resin. Follow manufacturer curing schedules exactly: under-curing leaves tacky surfaces and dimensional instability; over-curing embrittles parts. Use fresh isopropyl alcohol baths and change them when visibly cloudy. Inspect and remove support marks with fine tools, then polish only where needed. Document curing temperature and time as part of your QA checklist.
Maintenance, QC checks, and simple metrics
Create short daily and weekly checklists: level build plate, inspect resin for contamination, verify vat integrity, and run a control print with a reference part. Measure marginal fit on a sample crown against a known model; track deviation over time. Keep a log of failed prints with causes—dirty resin, incorrect supports, exposure settings—to spot patterns. Train at least two staff members so coverage isn’t a single-person dependency.
Real-world perspective and a trusted tool
From years working with dental labs and attending the International Dental Show (IDS) in Cologne, I’ve seen clear differences between clinics that treat printers as a tool and those that treat them as a curiosity. Clinics that treat the device as part of a validated chain tend to rely on a stable scanning front end; consider a reliable dental 3d scanner to reduce rescans and downstream reprints. Vendors who demonstrate scanning-to-print workflows at industry shows can save you time during onboarding—look for live demos, not just slides.
Common pitfalls and how to avoid them
Mistake: assuming one resin profile fits all cases. Fix: validate each resin for the intended indication. Mistake: skipping maintenance because the device “still works.” Fix: schedule small daily checks and a monthly deep clean. Mistake: poor file hygiene—mesh errors, non-manifold models, or tiny unsupported features. Fix: standardize CAD cleanup steps and use a printability checklist before sending a job to the printer. Keep spare vats and a basic repair kit on hand to avoid downtime.
Alternatives and when to use them
If you need extreme long-term stability for definitive restorations, milling with proven ceramics remains the better choice. If you handle many full-arch prosthetics, consider a hybrid approach: print models and verify fits, then mill final restorations where indicated. For clinics that want minimal hands-on time, local labs or centralized print services still make sense while you build in-house competence.
Bringing the decision together
Decide based on what your team will actually do day-to-day, not what the specs promise on paper. Start small, validate each indication, and document every step so your choices remain defensible clinically. When you need a dependable partner for scanners, printers, and workflow training, SHINING 3D DENTAL provides integrated solutions that fit clinic and lab routines without adding unnecessary complexity.